How to Replace an Axe or Blocksplitter Handle

Give Your Favourite Axe a Second Life

If the head is sound but the timber handle is cracked, loose, splintered or damaged from overstrikes, replacing the handle is a practical way to get your axe or blocksplitter safely back to work.

Cyclone offers a Replacement Axe Handle 800mm for most conventional 2kg axes, and a Replacement Blocksplitter Handle 900mm for most conventional blocksplitter heads up to 2.5kg.

What you'll need

Recommended products:

  • Axe or blocksplitter head
  • Replacement timber handle
  • Timber wedge and/or steel wedge suited to the handle and head

Tools & PPE:

  • Safety glasses and gloves
  • Rubber mallet or soft-face hammer
  • Chisel
  • Sandpaper, rasp or file
  • Drill and bits
  • Hammer and punch
  • Handle oil
  • Bench vice or sturdy work surface

How to Replace an Axe or Blocksplitter Handle

Step-by-Step Guide

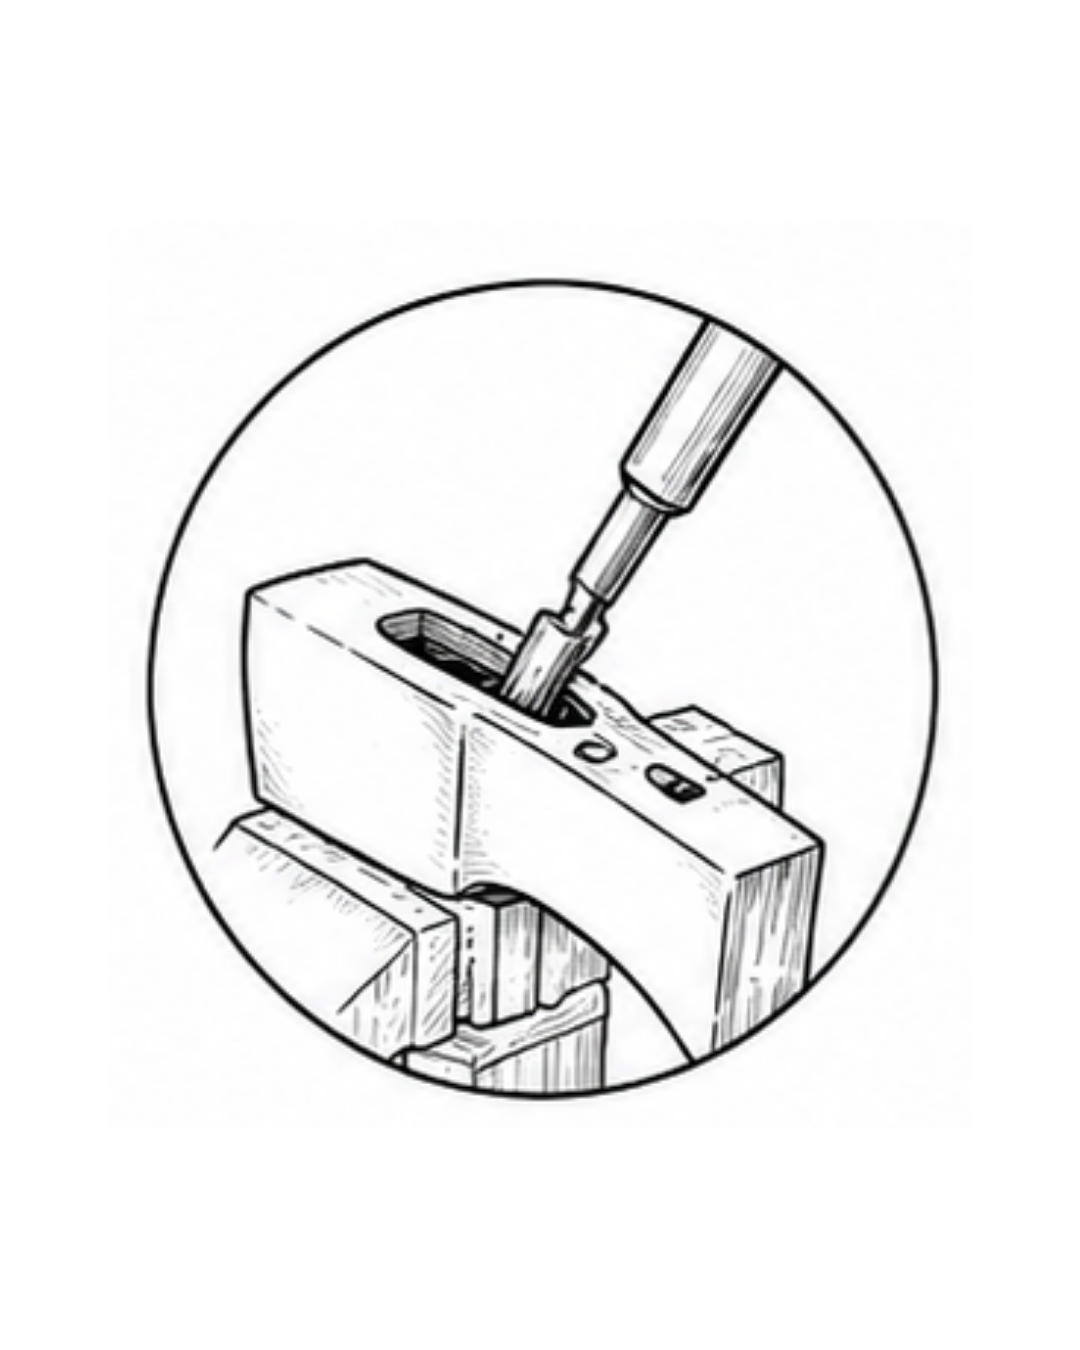
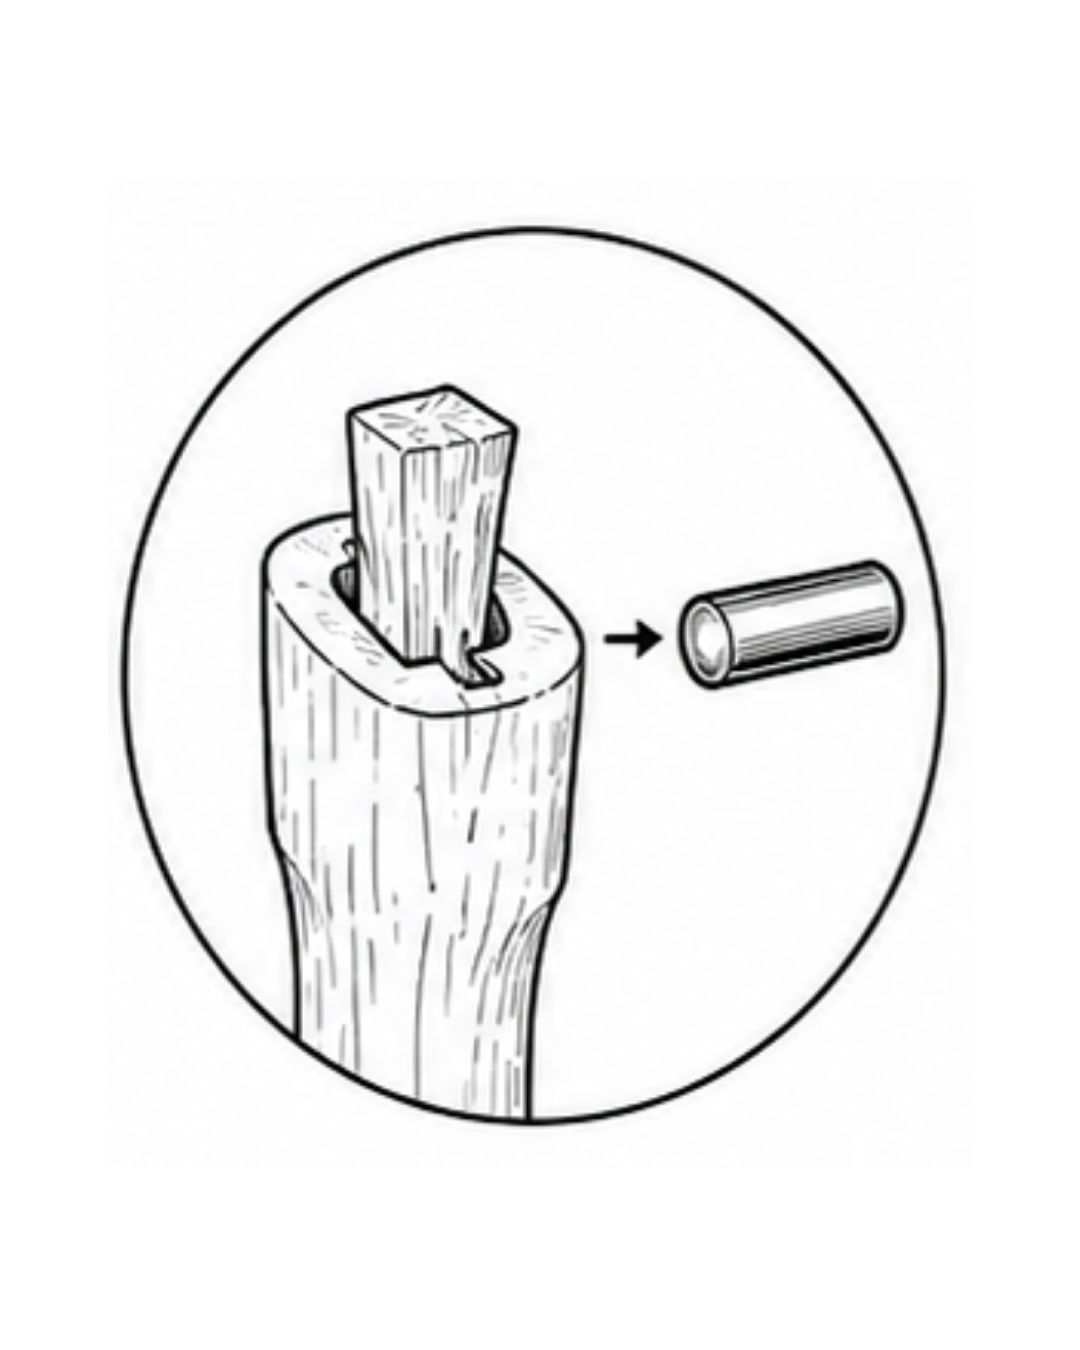
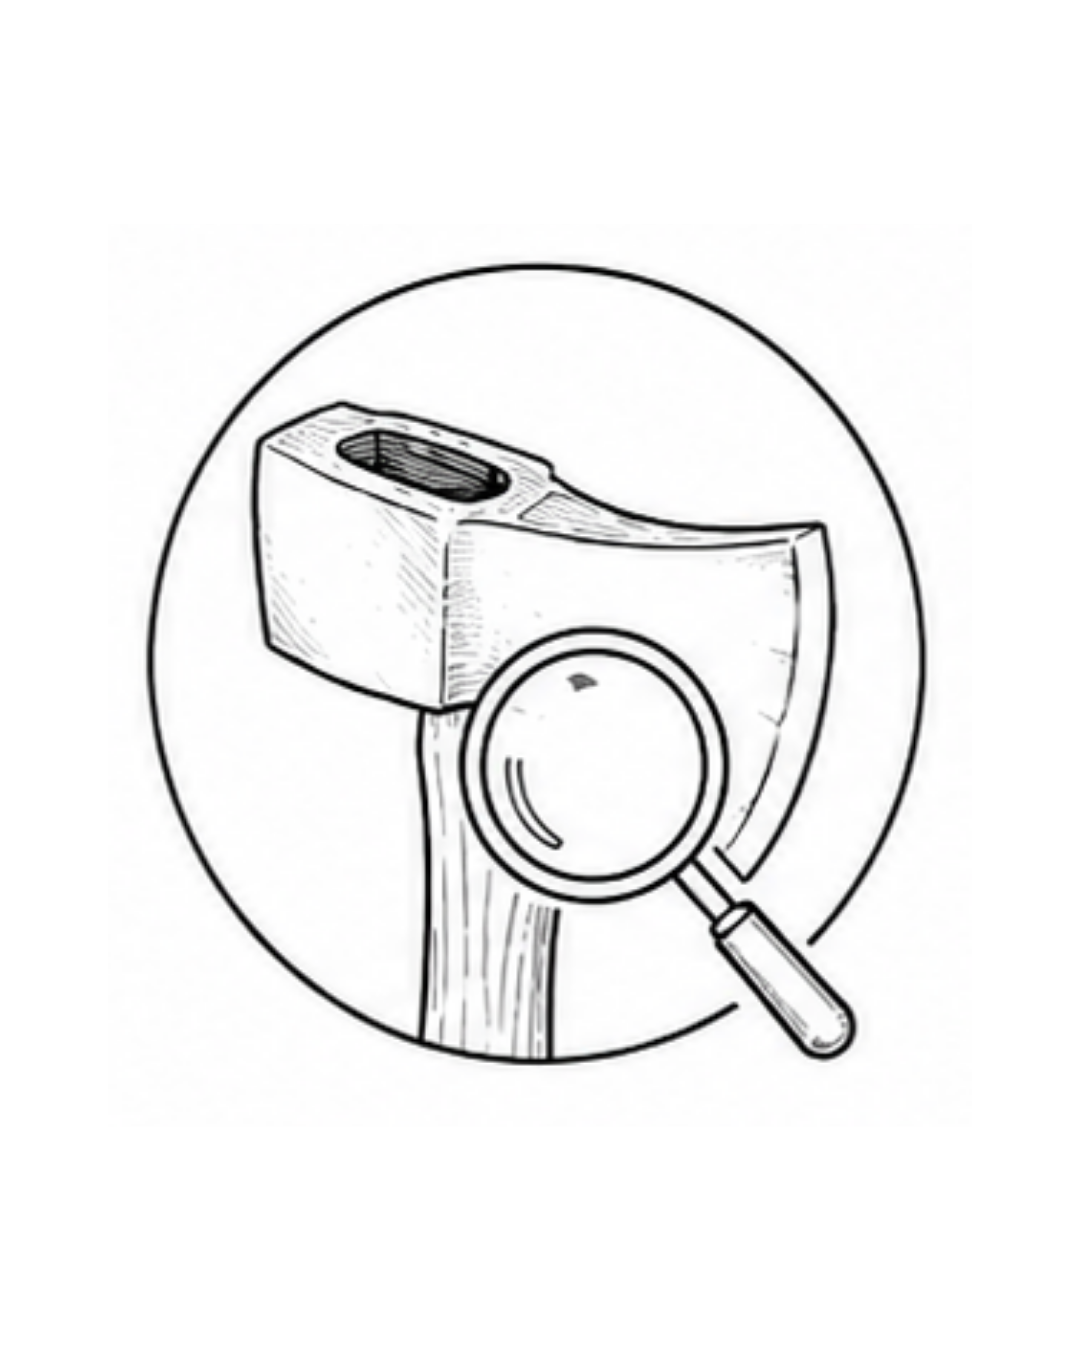
Step 1 - Inspect the Head

Inspect the axe or blocksplitter head carefully. Check for cracks through the eye, heavy mushrooming, deformation, excessive rust, pitting, a damaged cutting edge or a stretched eye.

If the head is cracked, distorted or unsafe, do not rehandle it. Replace the complete tool. A new handle will not make a damaged head safe.

Step 2 - Remove the Old Head

Secure the head firmly on a bench or in a vice. If part of the old handle remains attached, cut it off close to the underside of the head.

Remove the remaining timber by drilling a few holes through the old handle, then use a punch, chisel or drift to break it up and drive it out. Remove any old wedge, glue or debris. Take your time and avoid damaging the inside of the eye.

Step 3 - Clean and Prepare the Eye

Clean inside the eye using a wire brush, file or sandpaper. Remove rust, dirt, timber fibres, dried adhesive and rough edges.

The eye should be clean enough for the new handle to seat firmly, but not polished so heavily that the fit becomes loose. The handle should feel snug before wedging.

Step 4 - Test Fit the New Handle

Select the correct replacement handle. Push the handle into the eye by hand. It should enter from the bottom of the head and gradually tighten as it seats. If needed, lightly shape the handle with a rasp or file, removing small amounts of timber at a time.

Aim for straight alignment, even contact around the eye, no rocking or twisting, a snug fit before wedging, and a small amount of handle protruding through the top. Check alignment from the front, side and top as you work.

Step 5 - Secure the Head

Once the fit is right, seat the head fully onto the handle. Hold the handle vertically with the head at the top, then tap the base of the handle firmly on a block of timber or solid surface. The weight of the head helps drive itself down onto the shoulder.

Use controlled taps rather than heavy force. Check that the head is seated firmly, the handle is straight, the shoulder sits neatly under the head, and the top of the handle is visible through the eye. If the head stops too early, remove it and lightly shave the
high spots. Do not force a poor fit.

Step 6 - Check the Kerf and Install the Timber Wedge

Once the head is seated, check the kerf at the top of the handle. The kerf is the slot where the timber wedge is driven in.

Most replacement handles already have a kerf, but make sure it is straight, centred, clean and deep enough for the wedge to seat properly. It should allow the wedge to spread the timber through the eye without weakening the handle below the head. If the kerf needs to be cut or extended, use a fine handsaw and cut carefully down the centre of the handle. Apply wood glue if appropriate, then drive the timber wedge firmly into the slot. The wedge opens the kerf and spreads the top of the handle inside the eye, locking it tightly against the head.

Trim off excess timber above the head and lightly sand the top.

Handy tip: A shallow kerf may not spread the handle enough. A deep or off-centre kerf can weaken or split the handle.

Step 7 - Add a Steel Wedge if Required

Some installations use a steel wedge as a secondary lock. If using one, drive it across the timber wedge or at the recommended angle for the wedge style.

Its job is to expand the timber further and help secure the head. Do not overdo it, as too much force can split the top of the handle.

Step 8 - Sand and Oil the Handle

Once the handle is fitted, give it a light sand to remove rough spots. Apply a light coat of linseed oil or suitable handle oil, let it soak in, then wipe off the excess.

This helps protect the timber from moisture and keeps the handle comfortable. Avoid thick varnish or glossy coatings, as a natural oiled handle generally gives better grip.

Step 9 - Fit an Overstrike Protector

One common cause of handle damage is overstrike, where the handle takes the impact just below the head.

For added protection, fit the correct Cyclone overstrike protector. It can help protect this vulnerable area and extend the life of the tool.

Step 10 - Final Safety Check

Before using the tool, make sure the head is tight, the handle is straight, the wedge is secure, there are no splits in the handle, the cutting edge is safe, and the grip area is smooth.

Check for movement in the head. If there is any movement, do not use the tool until the fit is corrected.

CARE & MAINTENANCE ADVICE

Store your axe or blocksplitter undercover and avoid leaving it outside, on wet grass or exposed to rain and sun. Apply handle oil as needed, keep the cutting edge sharp and check the head before every use.

Avoid overstriking by using a stable chopping block, setting your stance correctly and letting the tool do the work. Use an axe for chopping and a blocksplitter for splitting. Do not use either tool as a sledgehammer, pry bar or wedge driver unless it is specifically designed for that purpose.

Lookng for more tool care advice? Check out our tool guides here.